Days 10 and 11 Campervan Conversion Leave: First Painting Done (YAY!) and Ceiling Insulation Complete
I painted something!!! My girlfriend was very encouraging and told me to just do it, so I picked something that was going to be 100% hidden, and had a go. This seems to have broken my fear of doing any painting, and even though it doesn’t look very good, I am ready to paint something else!
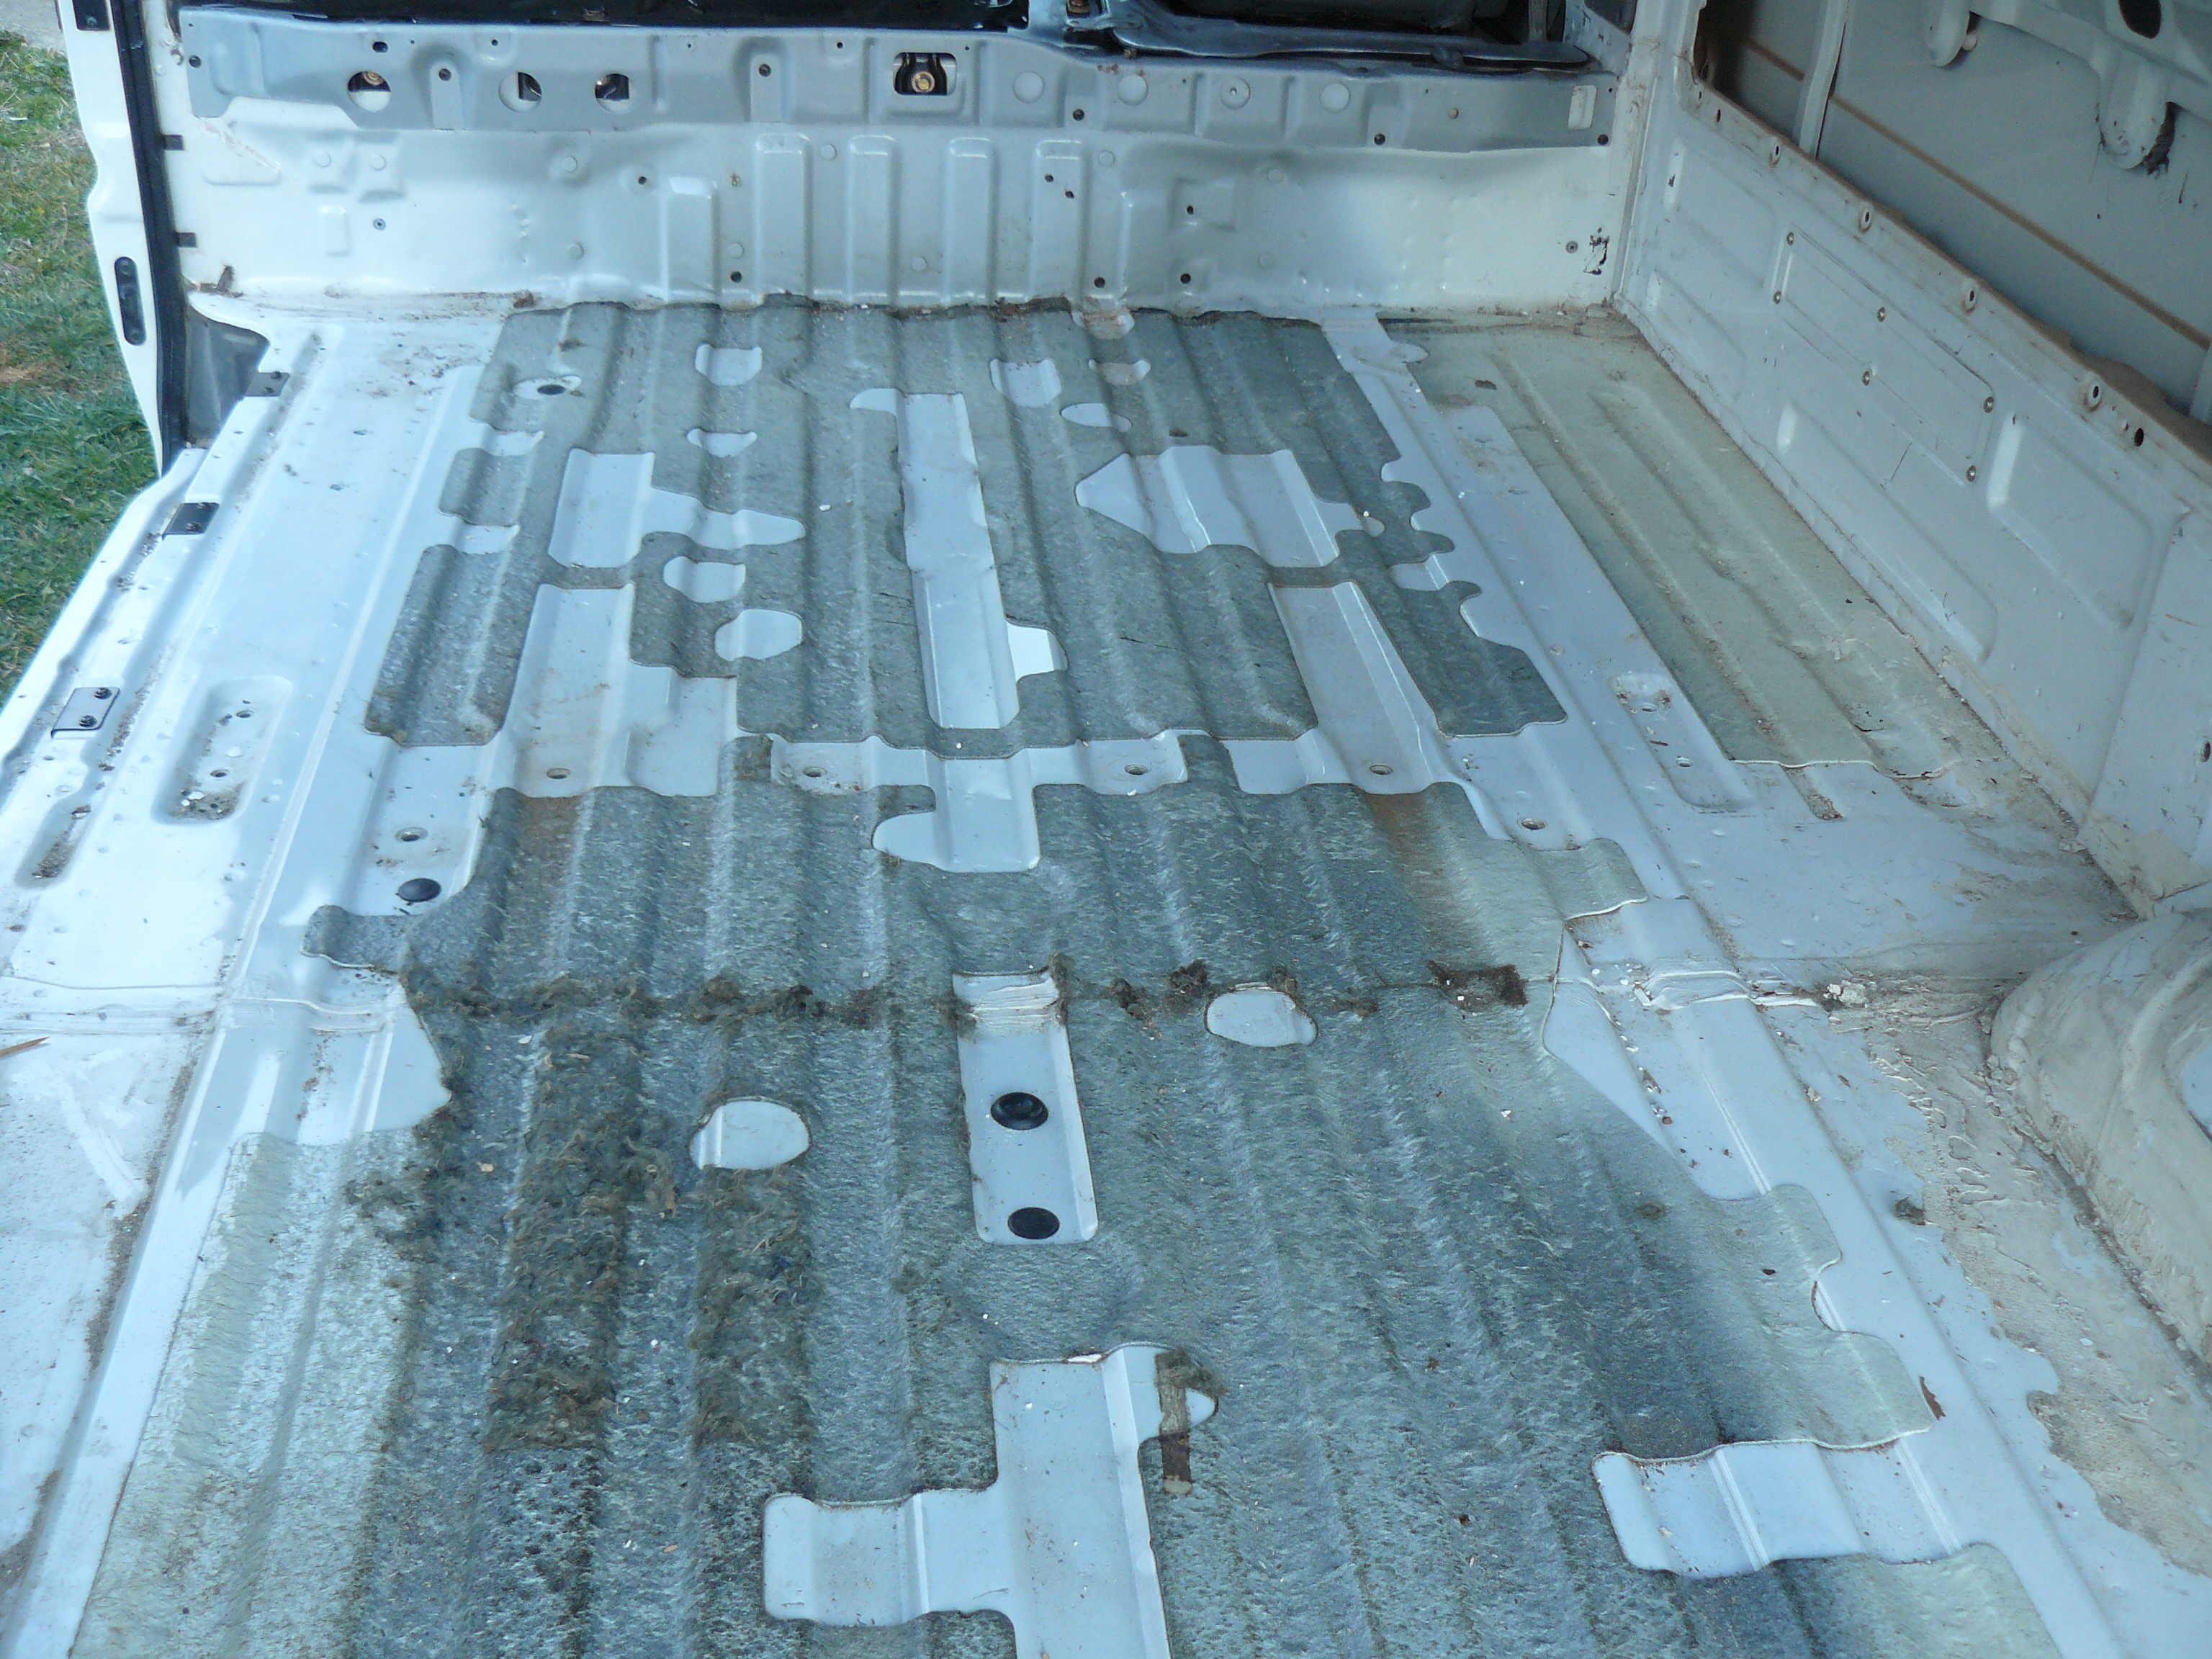
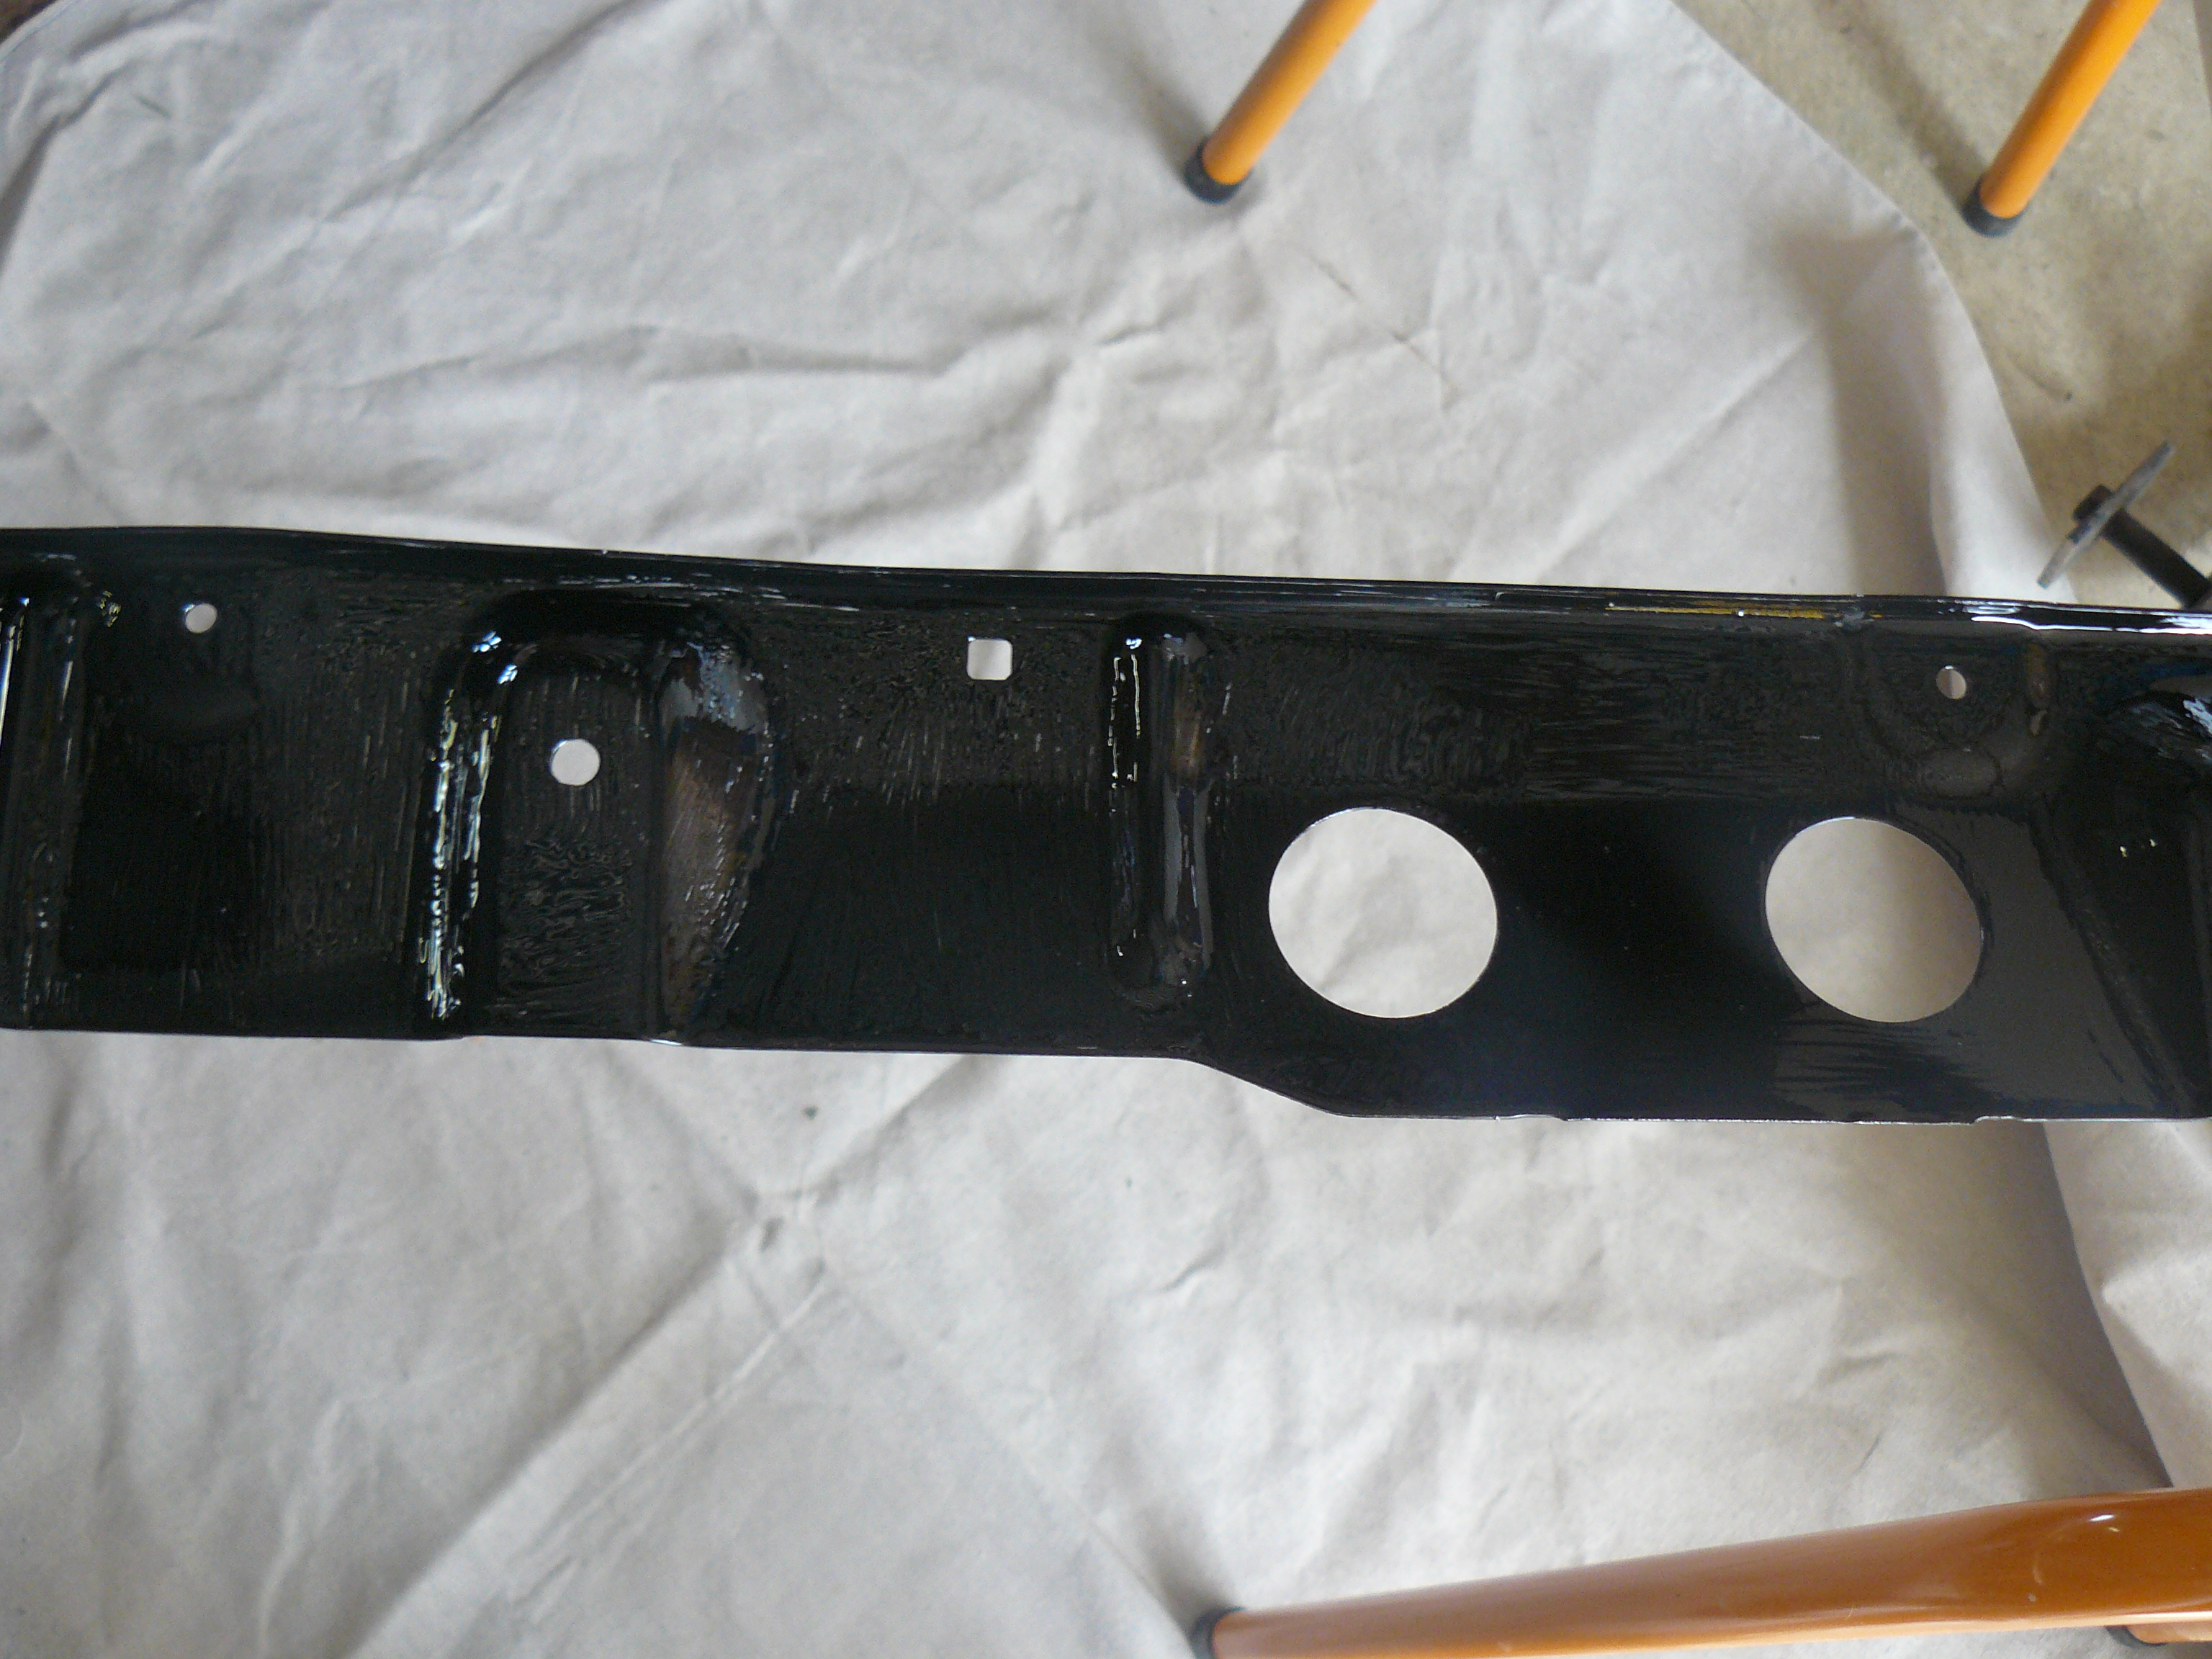
The bit I chose to paint was a metal bar-ish thing that was screwed onto the engine shelf behind/under the front seats. You can see it here (at the very top of the first photo, in closeup in second photo, and removed in third photo):


It had some rust spots on it, so I hit it with the wire brush on the drill.

Example rust spot

Example de-rusted spot
I didn’t sand it because, as I said, it will be hidden (under the carpet that goes over the engine shelf), so I just used it as a way to get to know my paint. This is the stuff:

I used black paint for this bit, because the floor will be black and the engine shelf top is black. If you saw my previous blog post about my intention to paint Kevan with a roller (this one), you’ll know I have read up on lots of web threads about getting a good finish by using diluted rust paints like this one. I’m definitely going to be following all the advice from those threads for painting the bits on the inside that you will see, but for this bit I tried out the paint neat, just to see what it was like. It was crap, really. Too sticky to get an even coat down, too sticky for the bubbles added by the roller to burst. I tried to get the roller loaded with paint without introducing bubbles, but it was impossible. I can see why the paint needs to be thinned down a lot to let the bubbles burst and to self level. I also tried using a brush, and that looked crap too. These are pictures I took while the paint was still wet. I will have to wait til the morning to see how it turned out dried.


A bit that I used a brush on

A bit I used the roller on
And the other side…


bubbles from the roller, assume this will look like orange peel when dry
So that was a first coat on that bit. I will do a second coat tomorrow and see if it helps (the paint pot said you should do two coats).
After the fun chemistry lesson I had the other day when gluing the first ceiling panel’s insulation on with Kwik Grip contact adhesive, today I had hot glue fun, and learnt how to use my girlfriend’s hot glue gun and stuck on all the insulation to the back of all the ceiling panels. I realised after the first panel that this glue dries really quickly, and I was trying to press the foam down onto a whole panel of streaks of glue that had already set hard 5 minutes ago. Had to do that panel again. Got there in the end. I also made a little glue sculpture. 😀


the tape is covering joins in the foam.

Hee!
I also finished properly sanding all three ceiling support beams, first with 80 grit where needed (the ends where the screws go through were deeply scratched), then 120 grit on all the scratched bits, then 400 grit all over. Probably should have stepped up through the grits via 220, but the 400 seemed to work. We will see if my ceiling support beams have visible scratch marks in them cos I didn’t sand them out properly. (I really don’t know how perfectionist to be with this stuff, because doing it perfectly would be so much work that I can’t believe people would do it. Is my idea of perfect surface preparation the same as everyone else’s?)


sanded with 80 grit wet

sanded with 120 grit wet

light fitting removed before final sand

sanded all over with 400 grit wet

ready for painting tomorrow
So that’s where I’m up to at the end of day 11. (For anyone who knows about this type of thing, how does my sanding work look now that you have seen a bit up close?)
It is kind of deflating to realise that my leave is almost over and, despite everything I have done, Kevan still looks like this:

However, I can only do what I can do. So that is what I’m doing. I think I am ok with that. It will all come together eventually, and I can always put the ceiling panels and a mattress in for my sister’s enjoyment and then take them out again to finish painting.
Pingback: Days 12 and 13 Campervan Conversion Leave: Painting Pt 2, Priority Reassessment | earthjive